Jan 30, 2025

Hello there, and welcome to Atopia! 😊 Let’s make your first virtual exhibition! This guide will walk you through each step.
Signing up and Opening the Editor
First, create an account. Don't forget to confirm your email!
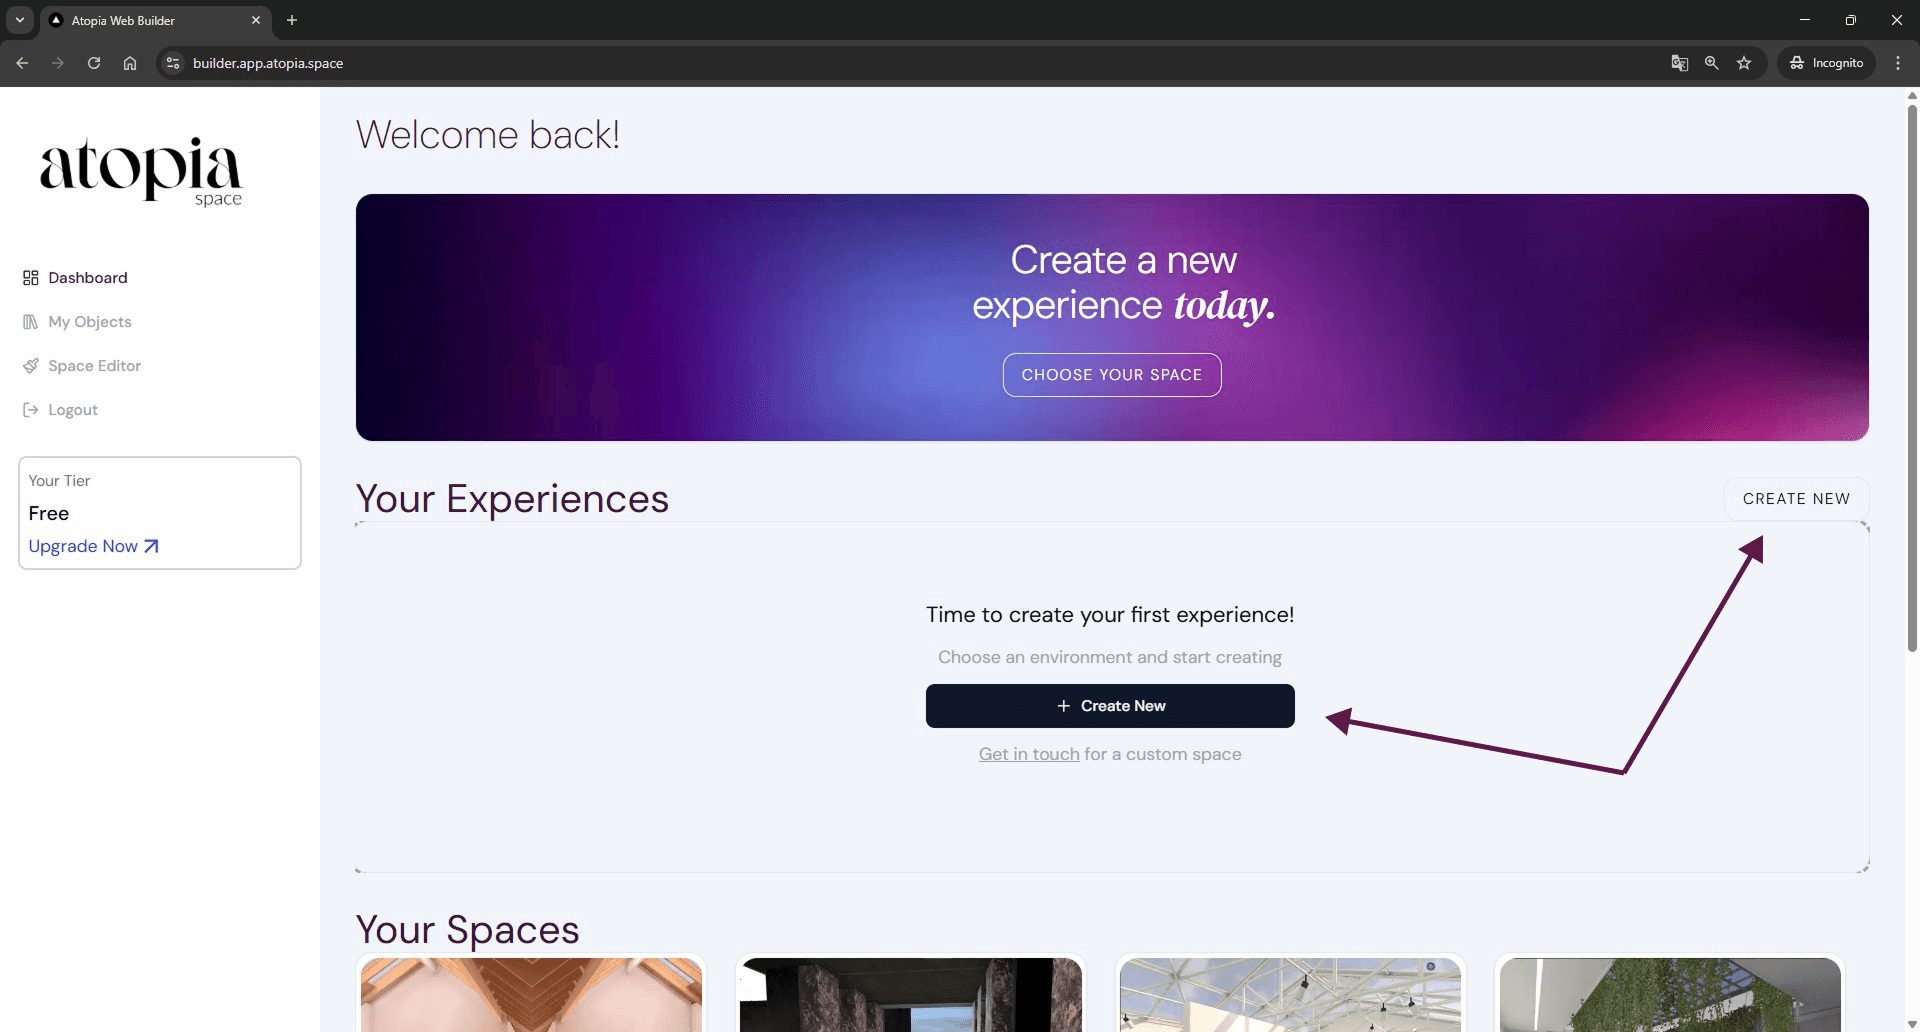
Once you’re in, you’ll see several free demo spaces in your Dashboard. To start creating, click “Create New”.

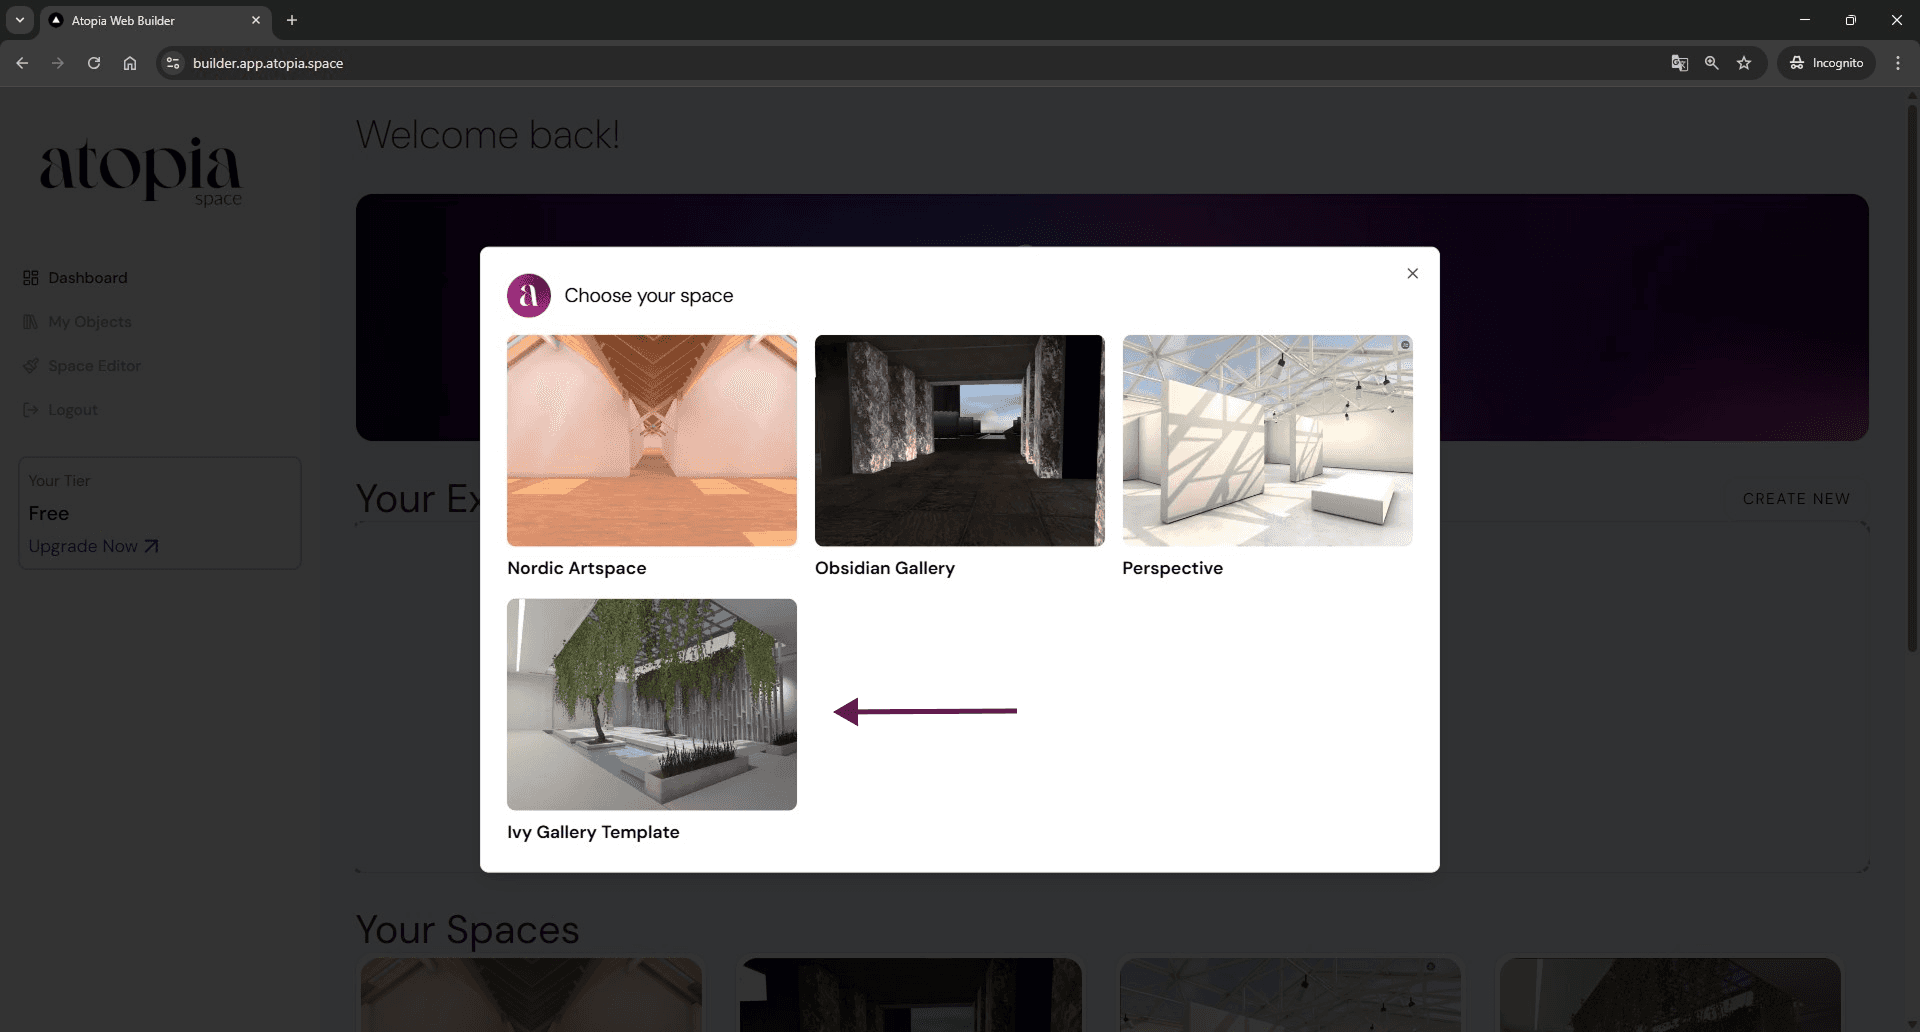
In the pop-up, choose a space you like.

Now, add a Title & Short Description to your Experience. You can change this later as well. This will be visible to the Users in the final experience. When done, click “Curate Now!”

Awesome job! You’re now inside the Editing Window of your New Experience.
Navigating within the Editor
Move around by Using WASD (W: Go forward, A: Go to the right, S: Go back, D: Go back), or simply click on the floor to get where you want to go.
To Look Around: Hold the left mouse button and move your mouse to look in different directions.
Uploading Artworks & Objects
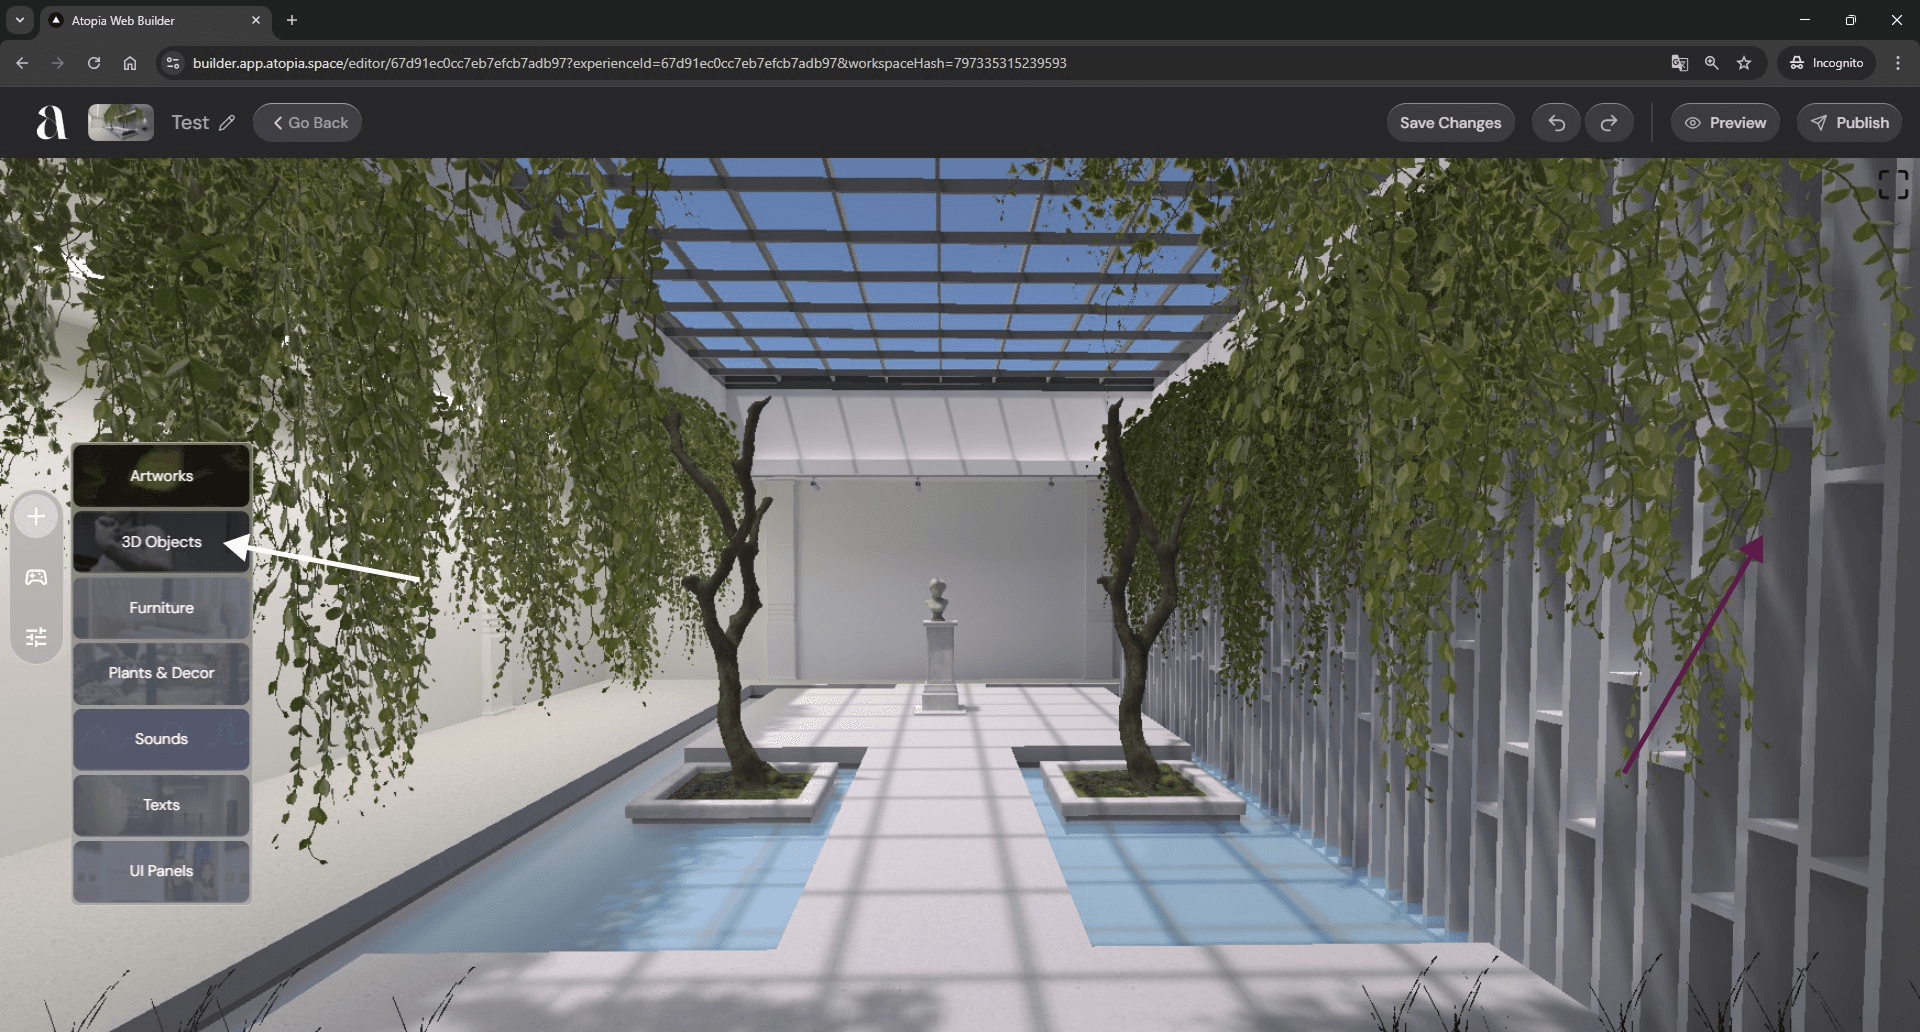
It’s time to add some art! Click the “+” button on the left to start.

For Paintings:
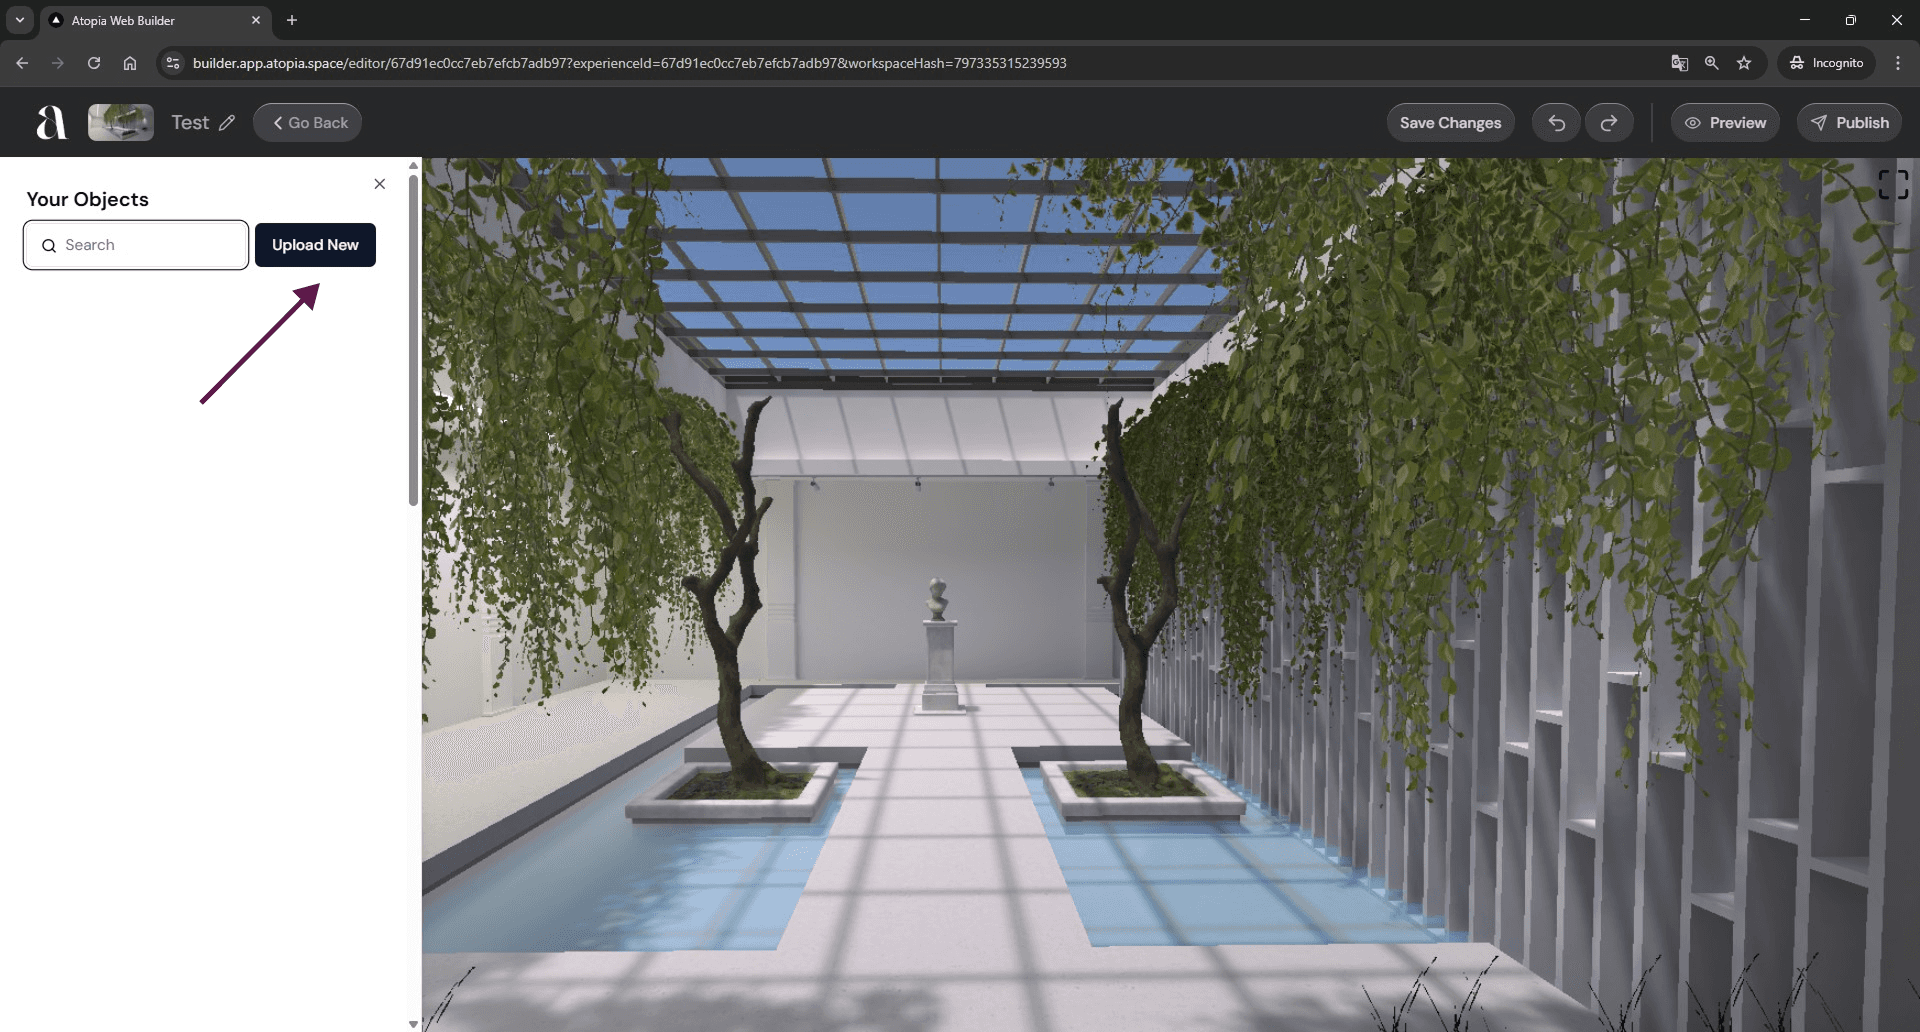
Click “Artworks”. Here, you’ll find all of your uploaded paintings. As you haven’t uploaded anything yet, it’s empty now. Choose “Upload New” to add a painting.

Choose your artwork file, and add details for your artwork, like title and artist, which visitors will see.
Enhance Realism by sliding the “Make it realistic” slider to the right, our algorithms will reproduce the three-dimensionality of your work.
Place the Artwork: Click “Create” and the artwork will appear based on its dimensions in front of you.
For 3D Objects:
Ensure your object fulfills our 3D object requirements.
Then simply follow the process for Paintings, just in the “add 3D Object” Category.

Placing Artworks & Objects in the room
Placing: To change the placement of an object, you can simple click & hold on it, and drag it where you want it to be.
Frame & Text: You can also adjust the Frame, Passepartout and Text by stepping closer to an artwork and activating the relevant field in the appearing “Artwork Belt”.
Publishing & Testing your Experience
When you’re ready, publish your experience by pressing “publish”, the button in the very top right corner. After this, you’ll be able to preview it in your dashboard by clicking “view”.
If you have a verified account, it will also get automatically uploaded to both our Website, and our VR App.
💡Please note that publishing is disabled for demo accounts.
KNOWN ISSUES:
Keyboard Blockage: Sometimes, you won’t be able to write text. Just reload the browser again and it should work. We’re working on solving this.


